French Cleat Sign
How to install a sign using a french cleat.
Using a cleat is a nice way to mount a sign to a wall without having visible fasteners. After reading this page and following the tips we hope that you will feel confident in mounting your new sign.
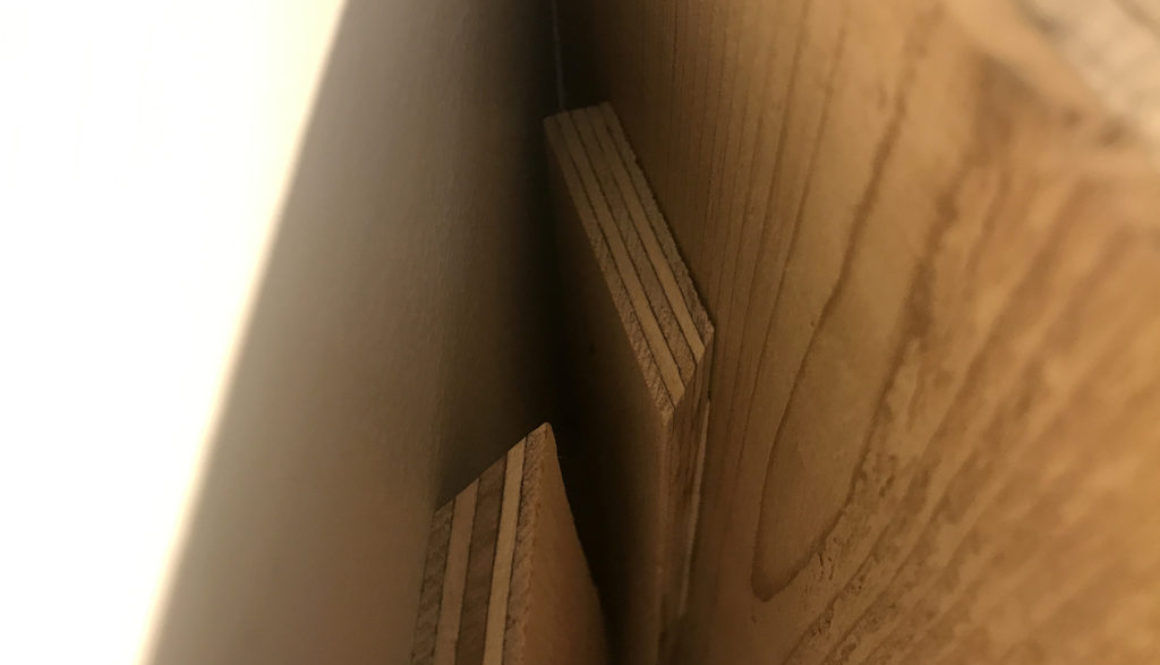
Step 1: Understand what they are and how they work.
The easiest way is probably to look at these photos which are pretty self explanatory.

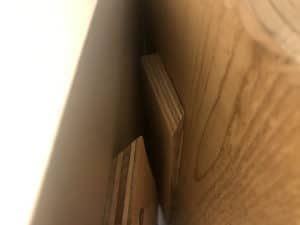
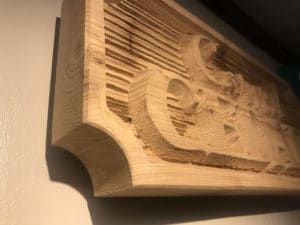
Or view more french cleat images on Google
Step 2: Get a cleat.
There are several types that you can buy such as this 20″ long kit from Amazon that can hold 200 pounds and is made specifically for dry wall or the smaller 60 pound version.
We often make our own cleats out of wood or plywood. Here are some wooden cleats from Amazon. The thicker the cleat, the farther from the wall your sign will be. We often think it looks nice to have the sign “hover” 3/4″ off the wall.
“Z-clips” is another term that may help when searching for the best option to buy.
Step 3: Install it.
Generally, even large heavy signs only require one cleat. Well, we call it “one” cleat but technically it’s a 2-part cleat (one goes on the wall and one goes on the back of the sign). The cleat should be at least half as wide as the sign. If your sign is 24″ wide, we suggest the cleat be at least 12″ long.
The cleat should be about two thirds of the way up the sign. Not at the tippy top but definitely not near the bottom. That allows gravity to do it’s job and hopefully the sign will hang plumb and not lean back and touch the wall at any point.
Sometimes on larger signs you will need an additional spacer near the bottom of the sign because the bottom of the sign will want to lean back and touch the wall. The spacer should be the same thickness as the cleat.
It’s important that the cleat be installed on the wall level and facing the right direction. And it’s important that the cleat on the back of the sign is mounted level (parallel) to the sign.
The sign simply hangs on the cleat and is held on by gravity alone. If your sign will be in a windy location, or if you are concerned with earthquakes or theft, then the sign will need to be “locked” in place.
One easy way to do that is to send one trim screw, available from Amazon or hardware stores, through the face of the sign (after it’s installed) and into the wall. You’ll need to hit something solid in the wall like a wood stud. Or if you use a wooden cleat you can screw into that. Trim screws are nice because of their small heads. It can often be hidden in an inconspicuous part of the sign such as a knot (if it’s a wooden sign).
Another method to “lock” your sign in place is to attach something above your sign after it’s installed so that it can’t lift up and off such as a screw or nail or trim board.
Good luck!

